The practical implementation of the proposed theory and promise of RAFT with Cisco pyATS and LangChain
Introduction
In the field of network engineering, the complexity and dynamism of network architectures present a significant challenge for configuration, troubleshooting, and optimization. This technical blog post delves into a groundbreaking methodology, Retrieval Augmented Fine-Tuning (RAFT), which leverages the power of Langchain pipelines and advanced AI techniques to transform network data handling and question-answering capabilities.
Before we explore the intricate workings of RAFT, let’s break down some key terminology that will be used throughout this discussion:
- Large Language Model (LLM): A machine learning model with a vast number of parameters that can understand and generate natural language text.
- Small Language Model (SLM): A more compact version of LLMs, with fewer parameters, often optimized for specific, less-complex tasks.
- Generative Pretrained Transformer (GPT): A type of LLM known for generating human-like text, trained on a diverse range of internet text.
- Retrieval Augmented Generation (RAG): A method that combines the generative capabilities of LLMs with information retrieval to answer questions using external knowledge sources.
- RAG-Fusion: An advanced version of RAG that includes multi-query capabilities and reciprocal ranked fusion to improve answer accuracy.
- RAPTOR: Tree-Oriented Retrieval, a retrieval technique that structures information in a hierarchical, tree-like manner for more effective data retrieval.
- Fine-Tuning (FT): The process of training a pre-existing model on a new, typically smaller, dataset to specialize its understanding or improve its performance on specific tasks.
- Retrieval Augmented Fine-Tuning (RAFT): A method that combines RAG with fine-tuning to embed external knowledge directly into an LLM.
- Langchain: A software framework designed to create complex applications that combine LLMs with other components like retrieval systems and databases.
*Think of RAG as an Open Book Exam vs a non-fine-tuned standard LLM as a Closed Book Exam. RAFT proposes implementing the Open Book Exam theory to Fine-Tune the model with external, dynamic, automated, inputs.

With these definitions in mind, let’s dive into the RAFT framework and its practical implementation through Langchain.
The RAFT Framework and its Langchain Implementation
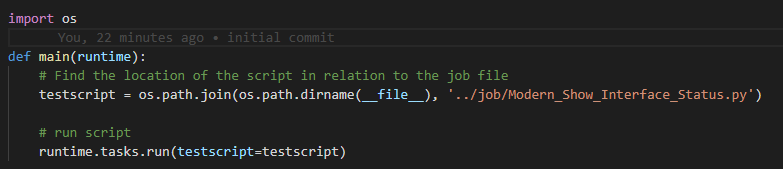
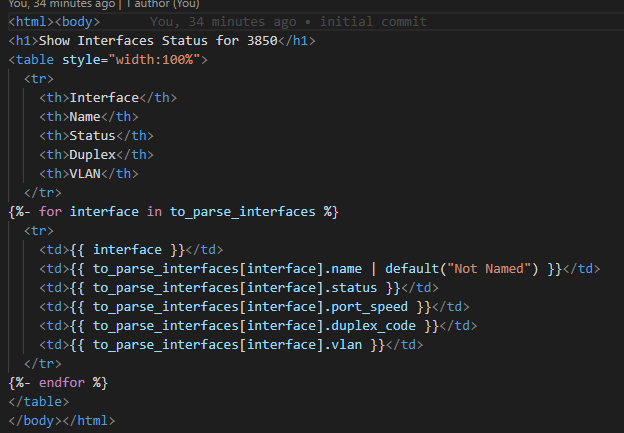
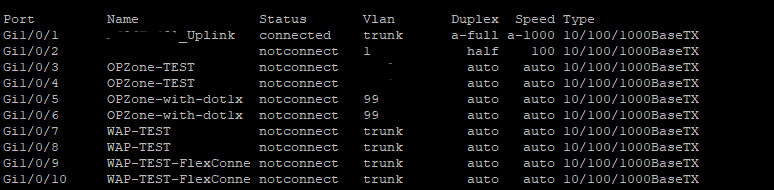
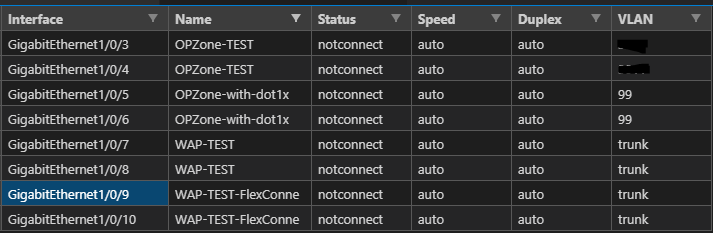
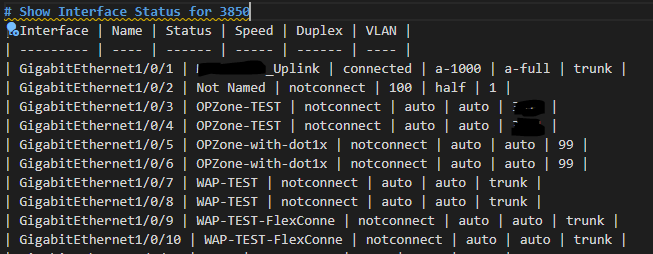
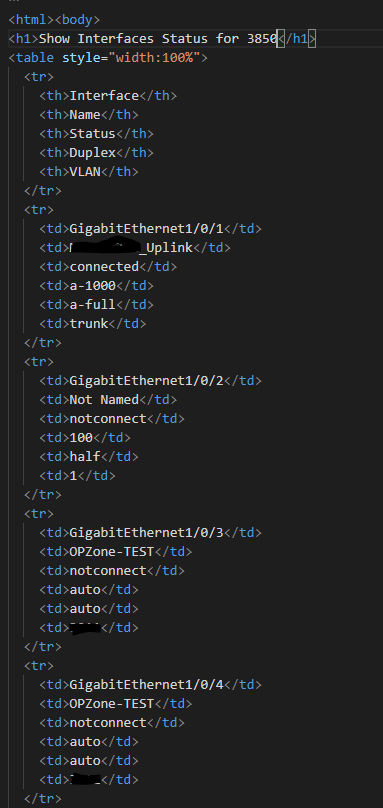
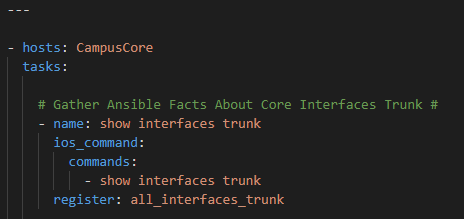
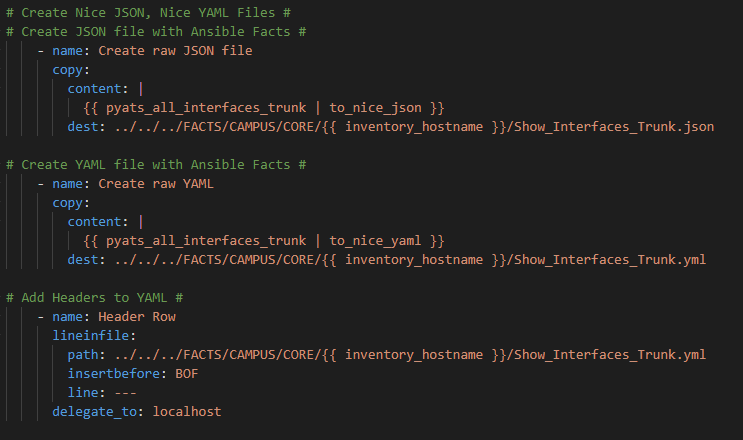
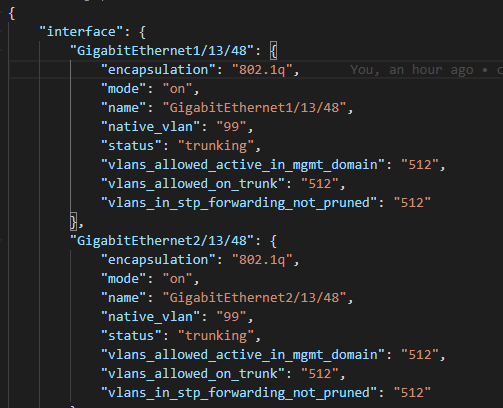
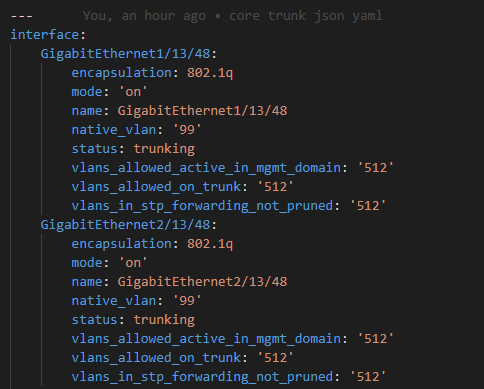
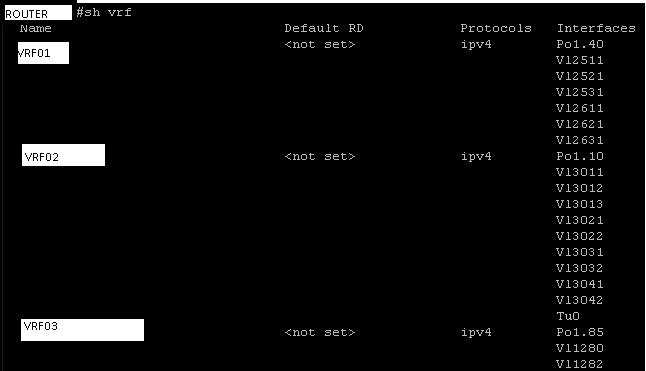
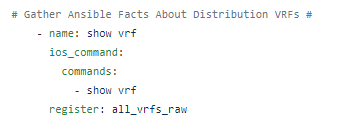
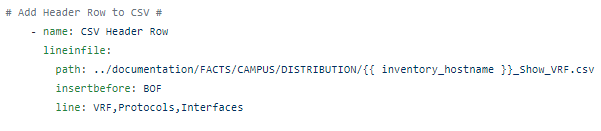
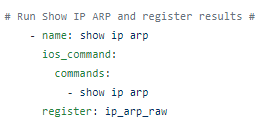
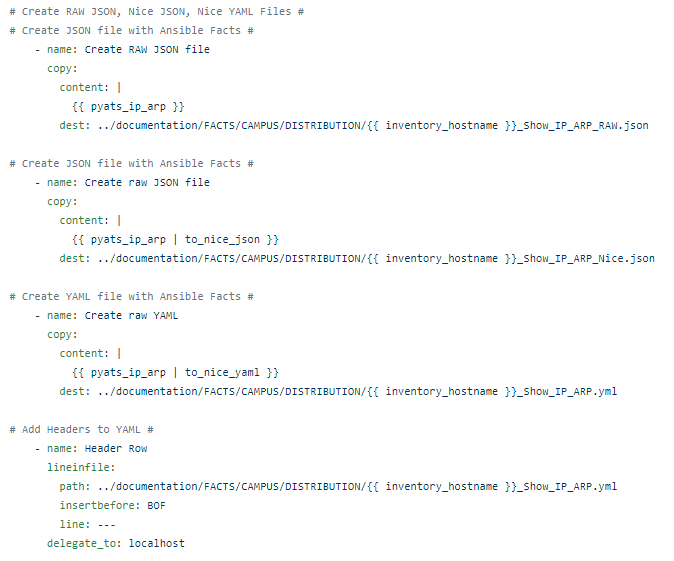
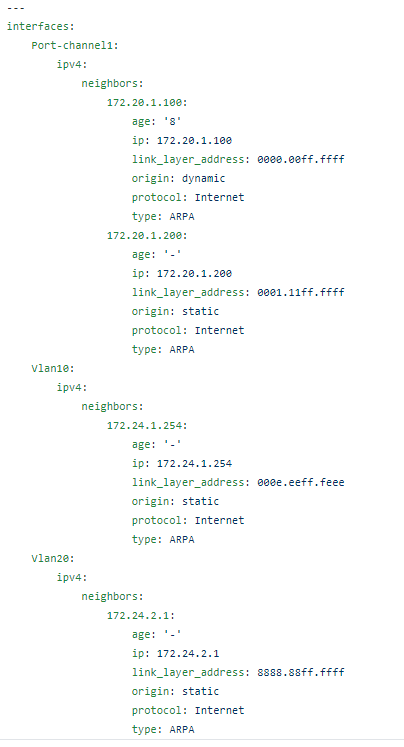
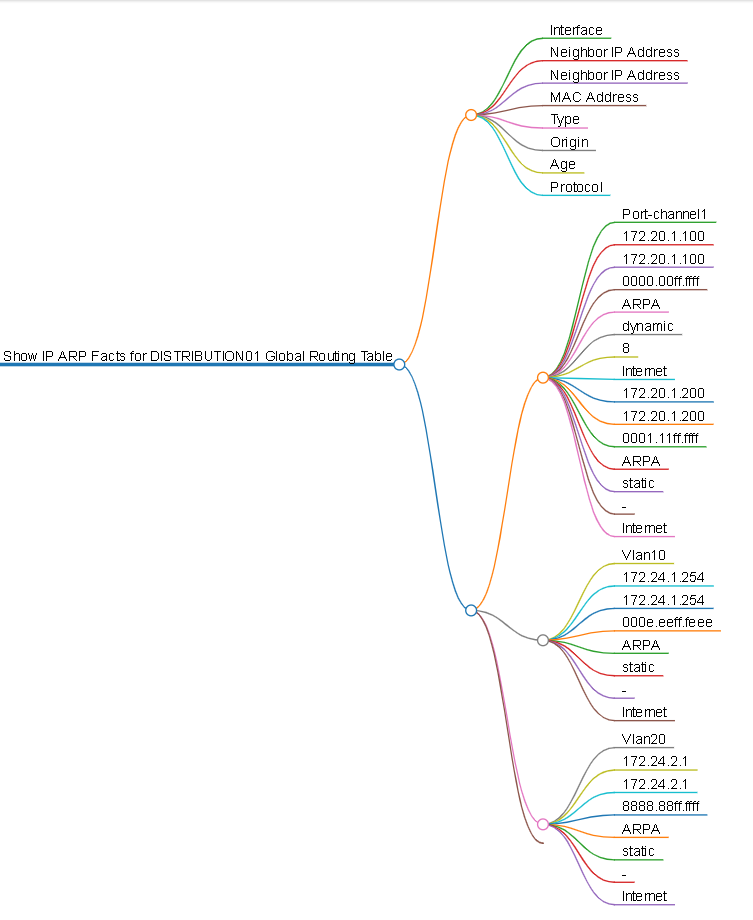
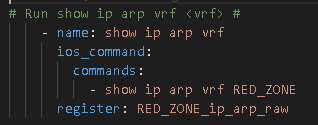
The RAFT methodology starts with Cisco’s pyATS, which is used to extract a network’s routing table. PyATS is an automated network testing system that effectively converts complex network information into machine-readable JSON format. This transformation is the first step in preparing our data for the Langchain pipeline.
*Note from John – the code below is very simplified for the sake of the reader; the actual code can be found here on my GitHub:
automateyournetwork/IOS_XE_RAFT: Using the Retrieval Augmented Fine Tuning (RAFT) approach with Cisco IOS XE JSON using pyATS to fine tune open source models (github.com)
** Follow-up note from John – for the sake of transparency and openness I used this code to generate the data set and used openAI chatGPT Fine-Tuning and Playground to prove the data set can fine tune the chatGPT 3.5 model. I am currently testing the second half of the code on my GPU to confirm the same dataset can fine tune the phi-2 model locally. This has yet to yield correct inference responses however on paper it should work with the chatGPT 3.5 model; I believe phi-2 is the issue not the fine tuning code. TBD.
Data Extraction and Transformation
In the initial phase, the routing table data is extracted:
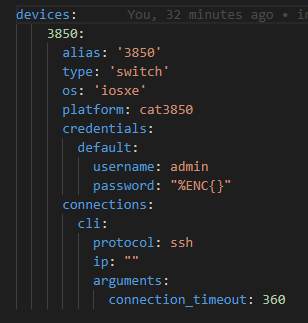
from pyats.topology import loader
testbed = loader.load('testbed.yaml')
device = testbed.devices['router1']
device.connect()
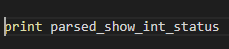
routing_table = device.parse('show ip route')
Once the routing table is captured, pyATS employs a JSONLoader to transform this data into JSON, making it amenable to further processing:
import json
routing_table_json = json.dumps(routing_table, indent=4)
print(routing_table_json)
Text Splitting and Embedding Generation
Next, we engage text splitting techniques to dissect the routing table’s JSON into discrete textual components that can be easily processed:
def split_text(routing_table_json):
    # Splitting logic goes here
    return split_texts

split_routing_table = split_text(routing_table_json)
Each text fragment is then fed into an LLM to generate embeddings, which are high-dimensional representations of the text’s semantic content:
import openai

def generate_embeddings(texts):
    embeddings = [openai.Embedding.create(input=text) for text in texts]
    return embeddings

routing_table_embeddings = generate_embeddings(split_routing_table)
Vector Storage in ChromaDB
These embeddings are stored in ChromaDB, a vector database optimized for similarity searches:
from chromadb import ChromaDB

db = ChromaDB()
for i, embedding in enumerate(routing_table_embeddings):
    db.insert_vector(embedding, metadata={'text': split_routing_table[i]})
Question Generation via LLMs
Utilizing various LLMs, a seed set of questions about the routing table is expanded into a comprehensive questionnaire that explores all facets of the data:
seed_questions = [
    "What is my default route?",
    "What next hop will my default route use?",
    "What is the outgoing interface of my default route?",
    "If I was a packet going to 192.168.1.1 what interface would I use?",
    "If I was a packet going to 192.168.1.1 what is my next hop?"
]

generated_questions = generate_questions(seed_questions, llm='gpt-3.5')
Retrieval Augmented Generation Loop
The RAG loop is then initiated, with each generated question being run through the Langchain pipeline, leveraging the power of an LLM as a retriever to fetch relevant information from ChromaDB and construct an answer:
from langchain.llms import OpenAI

llm = OpenAI()
for question in generated_questions:
    answer = llm.answer(question, retriever=db)
    print(f"Q: {question}\nA: {answer}\n")
Dataset Creation for Fine-Tuning
The Q&A pairs obtained from the RAG loop form a rich dataset, resembling an interactive session between a network engineer and an AI assistant. This dataset is primed for fine-tuning an LLM to encode a deep understanding of network routing logic:
{
    "messages": [
        {"role": "system", "content": "You are a computer networking expert specializing in network routing tables."},
        {"role": "user", "content": "What is the default route in the routing table?"},
        {"role": "assistant", "content": "The default route in the routing table is 0.0.0.0/0. It is active with a metric of 0, a route preference of 1, and it is sourced statically as indicated by the source protocol \"static\" and source protocol codes \"S*\". The next hop for this default route is 10.10.20.254 via the outgoing interface GigabitEthernet1."}
    ]
}
Fine Tuning
Using openAI’s fine-tuning service (for a small fee; publicly hosted) I was able to validate that my data set of 250 System / User / Assistant sets worked!
Visit platform.openai.com


Then we can head to the Playground to test our new model!

In the playground pick the base chatGPT model on the left, and your pretrained model (either the final model or a checkpoint) and setup your system; in our case a senior network engineer with a lot of experience with routing tables

Setup your user (or assistant) and ask something that you know the answer to about the routing table

Now obviously chatGPT 3.5 has no idea how to answer this but will do it’s best to provide, best cast, a general description or conceptual ideas about a default route on a network; and worst case; a hallucination

Now what do you think?
Will the fine tuned model know the answer ?
Here is the JSON to provide you with the correct answer:


Let’s try something else – how about we pick an IP address and see if the fine-tuned model can tell us what interface it would use ya?


After the initial RAG seeding of the data set and fine-tuning of the model – we no longer need RAG / RAPTOR / Agents / external data sources the knowledge is baked into the model!!
What did this cost me?

It cost about $5.50 worth of LLM (generation of 250 questions; RAG for 250 answers) a penny for the embeddings I need for RAG and a whopping 87 cents to make the actual fine-tuned model. Which leads me to my next steps which are already underway and hopefully working by the time you read this
Using Instructor-XL (embeddings) and Microsoft phi-2 (I know phi-3 is out but phi-2 is smaller and I only have 8GB GPU locally) I want to recreate the above.

To save that cost and to be 100% private and local I am literally in the process of fine-tuning phi-2 with the same dataset I used in the cloud. Stay tuned – you might be able to do this at home!
Thank you – I realize I don’t blog much anymore as I like video as my primary source of sharing knowledge. I will be making a follow up YouTube. But for something this important I wanted to break it down in a blog.
I was inspired by the following papers and articles:
RAFT (berkeley.edu)
RAFT (Retrieval Augmented Fine-tuning): A new way to teach LLMs (Large Language Models) to be better at RAG (Retrieval Augmented Generation) (microsoft.com)
[2403.10131] RAFT: Adapting Language Model to Domain Specific RAG (arxiv.org)
And following open source code notebook on how to fine-tune Microsoft phi-2:
notebooks/phi2-finetune-own-data.ipynb at main · brevdev/notebooks (github.com)
John Capobianco
April 27, 2024